Propane Blacksmith Furnace Burner

Inspired by the TV program "Forged in fire" I have decided to To build an Black smith force. I will start with constructing the burner first , The body of the burner will be made out of 27 M/M OD steel pipe X 24 M/M ID. The picture on the left I am milling the Air slots in the burner body the choke will have a piece of pipe 28 M/M ID this will slide over the burner body and will be shown in the next couple of pictures. There is a lot of information available on the "YOU TUBE" channel this will be worth wile an investigation, "YOU TUBE" is where I picked up the basic Idea with hope fully a couple of improvements of my own.

Left picture a stopper made from the same pipe, the choke is made of and tacked in position on the main burner body. This is fitted to stop the travel of the burner choke and travel past the air slots. On the right hand pictures a end cap was fitted , welded and machined to the burner body to hold the Nozzle .


The final size hole in the top will be drilled to the right size once the size of the nozzle has been determined. Photo on the far right is off the connection to the propane tank on the one side 1/8 BSP and Tapped M8 on the other side to take the burner tip made from brass with an 0.8 m/m hole drilled in the tip.


The top halve completed and assembled now to get a piece of stainless steel to finish of the hot side of the burner and light it up. Found 2 only 1.5" to 1" stainless steel welding reducers in the locale store all we have to do is machine out one end, to fit over the burner body and we are one step closer to an finished product. In the picture below the reducer has been machined out and fitted to the burners body. M5 hole drilled and tapped to keep this part in position. A new acquisition a domestic gas regulator I will have to test it to see if it delivers enough gas to keep the burner going at full force.


The final test of my furnace burner and I am not happy with the performance, it burns clean but I think the regulator is not feeding it enough fuel, at this stage I don't think I will be able to use it for blacksmiths or melting metal. Maybe I will be able to build an little furnace and use it to heat knifes or other items for tempering . I will be looking around for an better regulator that can be manually adjusted than I will test the burner again.
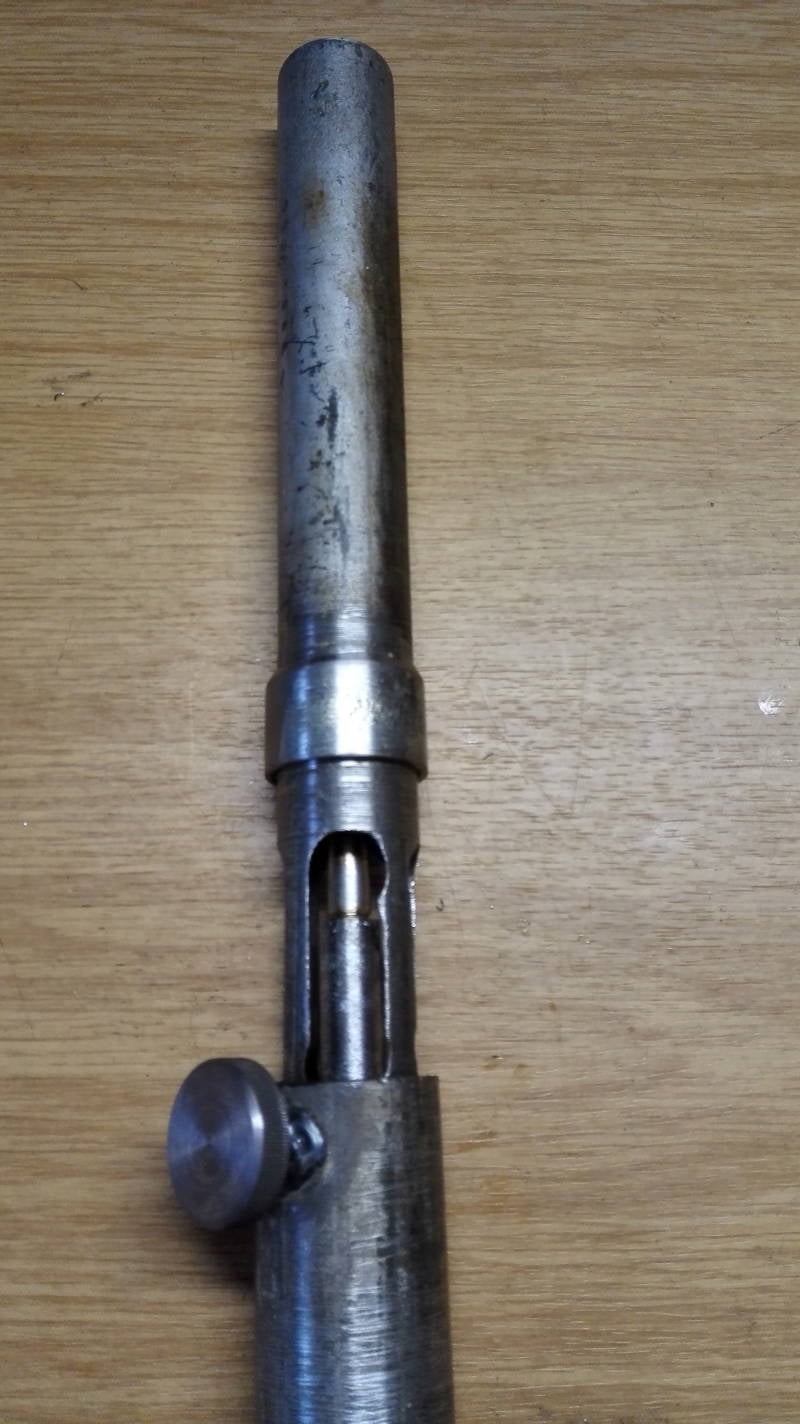
As can be seen in the left hand picture I have done away with the regulator and bought a fitting from the local gas supplier the strength or intensity of the flame is now regulated by the valve on the burner, as can be seen on the picture below. What a difference it has made. Now I am ready to build a furnace

Single wheel Knurling tool

A new toy for my ever expanding DIY work shop. A Knurling tool , a tool that can be mounted in the tool post of the lathe to give a rough surface to a project you are busy with , for instance a object that only needs to be hand tight . The Knurling tool will give you this extra grip to the project where needed.

On the left the knurling tool in use on the lathe making a small adjusting wheel for the black smiths force burner. Mentioned earlier, and is performing as expected.
Dual wheel Knurling tool


A recent addition to my tools and equipment . Above the picture of a dual wheel knurling tool. that when used will give a nice cris cross pattern on projects made in the lathe if called for. This will give a nice firm grip on any future project.
Create Your Own Website With JouwWeb