Changes to column and base " Hobby Craft " Drill press. Jan 2021


Picture top left the machine stripped down to the base .
Picture top center cutting a piece of flat stiffener stock 100 x 150 x 12 mm on the power hack saw.
Picture on the right stiffener plate holes marked out and drilled ready to be cleaned up , and transfer the holes to the base.


Picture on the top left the stiffener plate fitted, the extra holes drilled and tapped in the base plate and the head of the mounting bolts grind down to make them fit .
Center picture the extension in the lathe , in the process of being machined to seize.
Picture to right extension pressed in to the column.

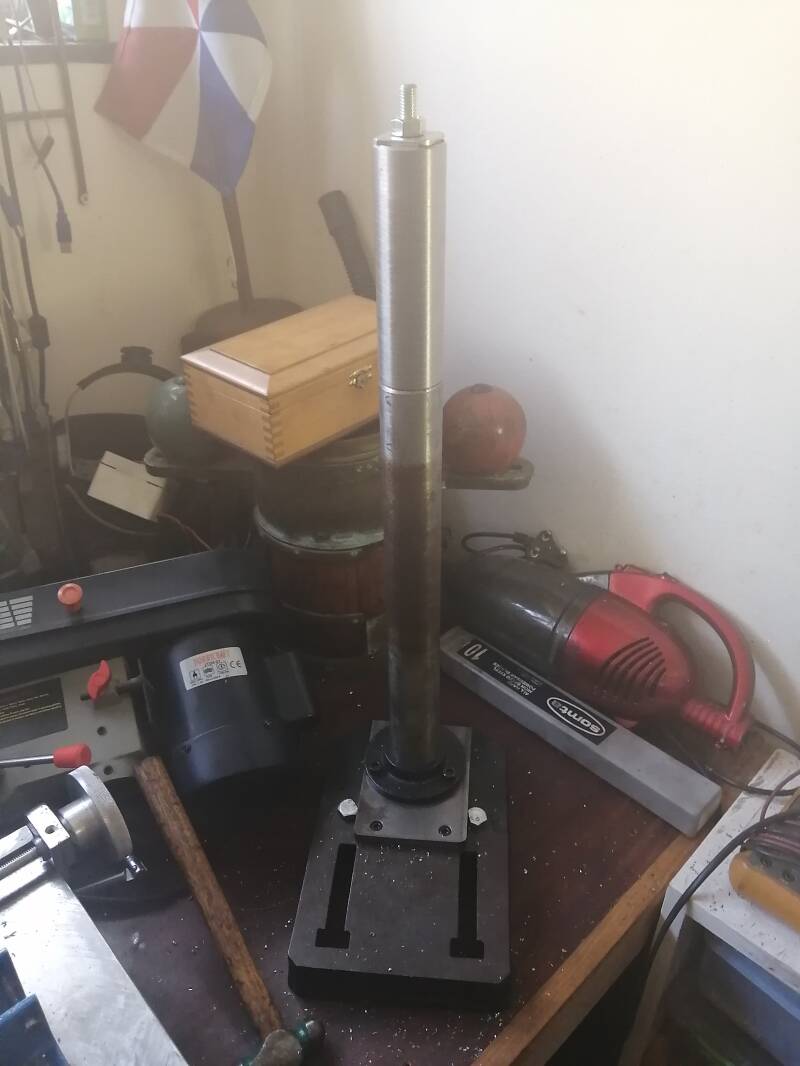
Picture top left draw bar screwed in to the stiffener plate
Center picture column fitted and draw bar nut screwed tight.
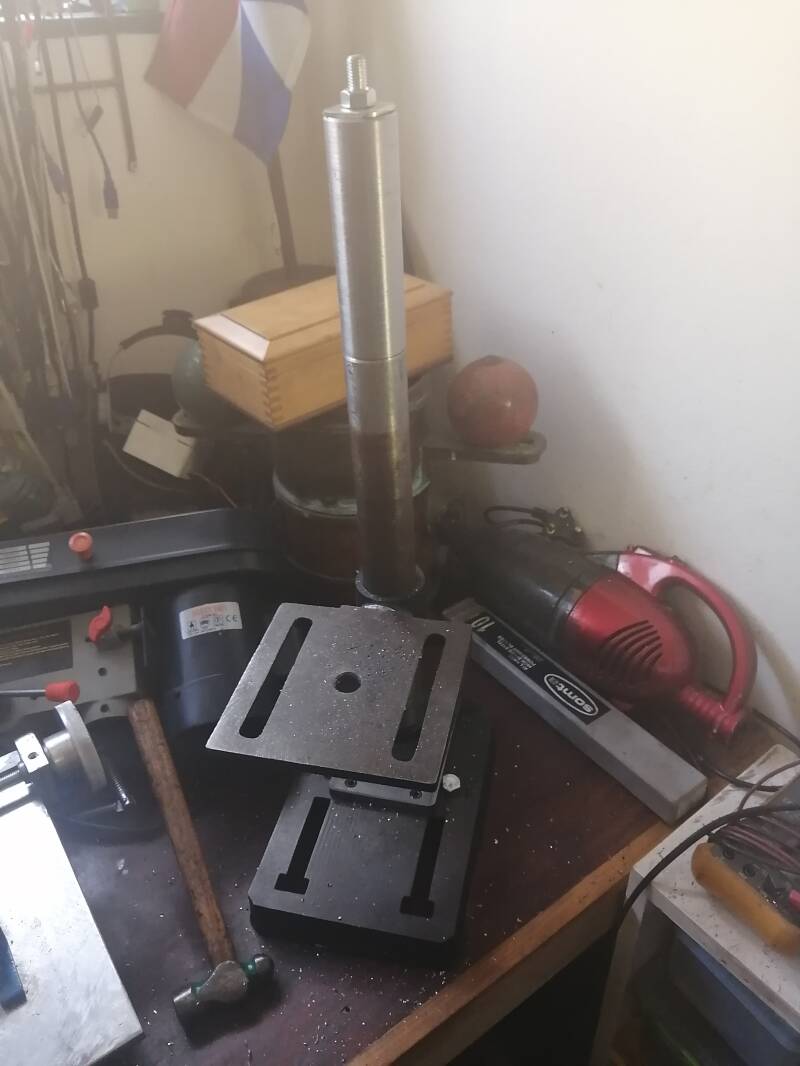
Picture to right table fitted.
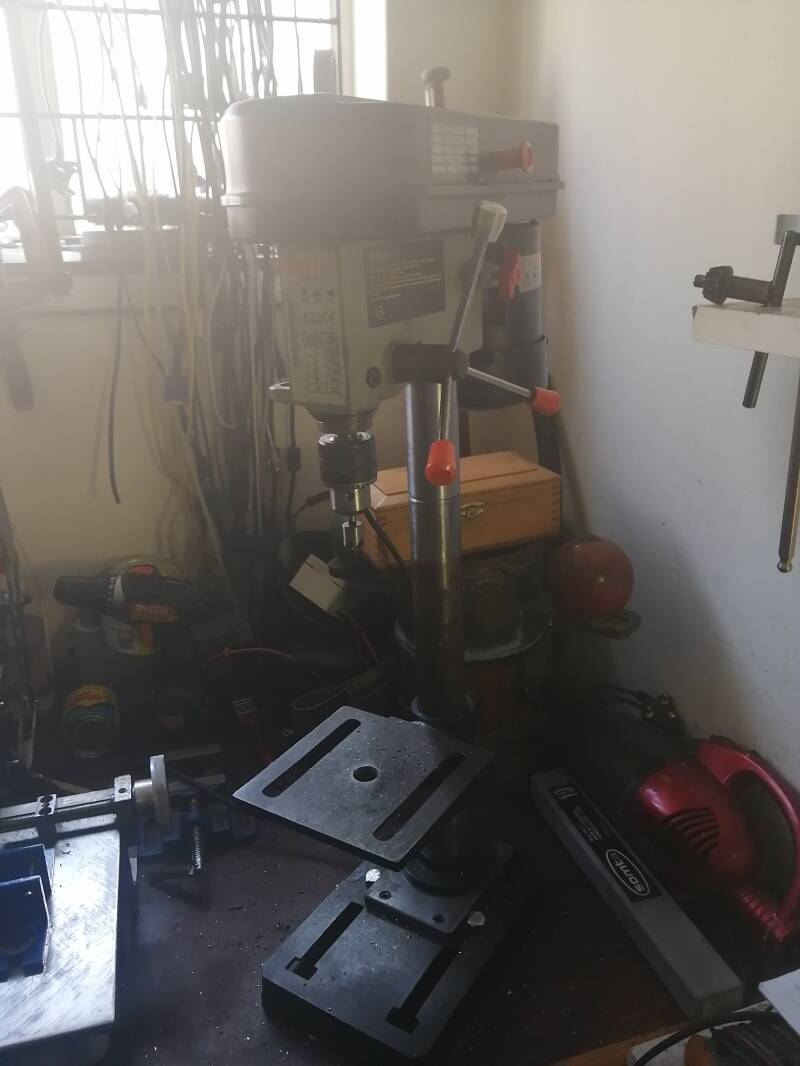

The two pictures to the left the drill press assembled and tested , is now ready for action with a bigger height range and will be more rig git.
Overall I feel that this Hobby craft drill press is of better quality .Than my other Ryobi drill press
The column on the Ryobi drill press was also extended.
" Hobby Craft" Drill press spindle repairs

After unsuccessfully testing my cheap drill press as a milling machine. Mounted on my Taiwanese lathe . I bend the spindle .
I will now use it as an drill press as it was designed for, just drilling holes in steel or what ever material I am working with.
All parts have been removed from the press and Ready to be stripped and examined.
On removal of the spindle , I will run it in the lathe and see what can be done with it.


Preparations made to remove the chuck , cutting a slot in a piece of 40 mm X 6 to slide between the chuck and the spindle then inserting a punch and after one blow with a 2 LBS hammer the chuck came of the spindle. And just by turning the spindle I can see that the spindle is bend. The plan is to remove the spindle from the quill . Than checking it in the lathe if it is just the tip that is bend, Then I will machine it down to half an inch and cut a half inch UNF tread on it and use a hand drill chuck so I will able to use the drill press again. But only in one direction, if for some reason I could reverse directions the chuck will unscrew.


above picture the quill has been stripped and checked in the lathe the shaft is bend .


Above picture taper removed on the lathe and machined down to 12.72mm to take 1/2" UNF 20 threads per inch.
Thread cut and spindle assembled , and a new chuck fitted , I would have liked a key less chuck but could not find one that has a 1/2 " UNF 20 ID thread
Spindle fitted back in to the drill press , done a test run the the chuck its running true.
Its all operational again.

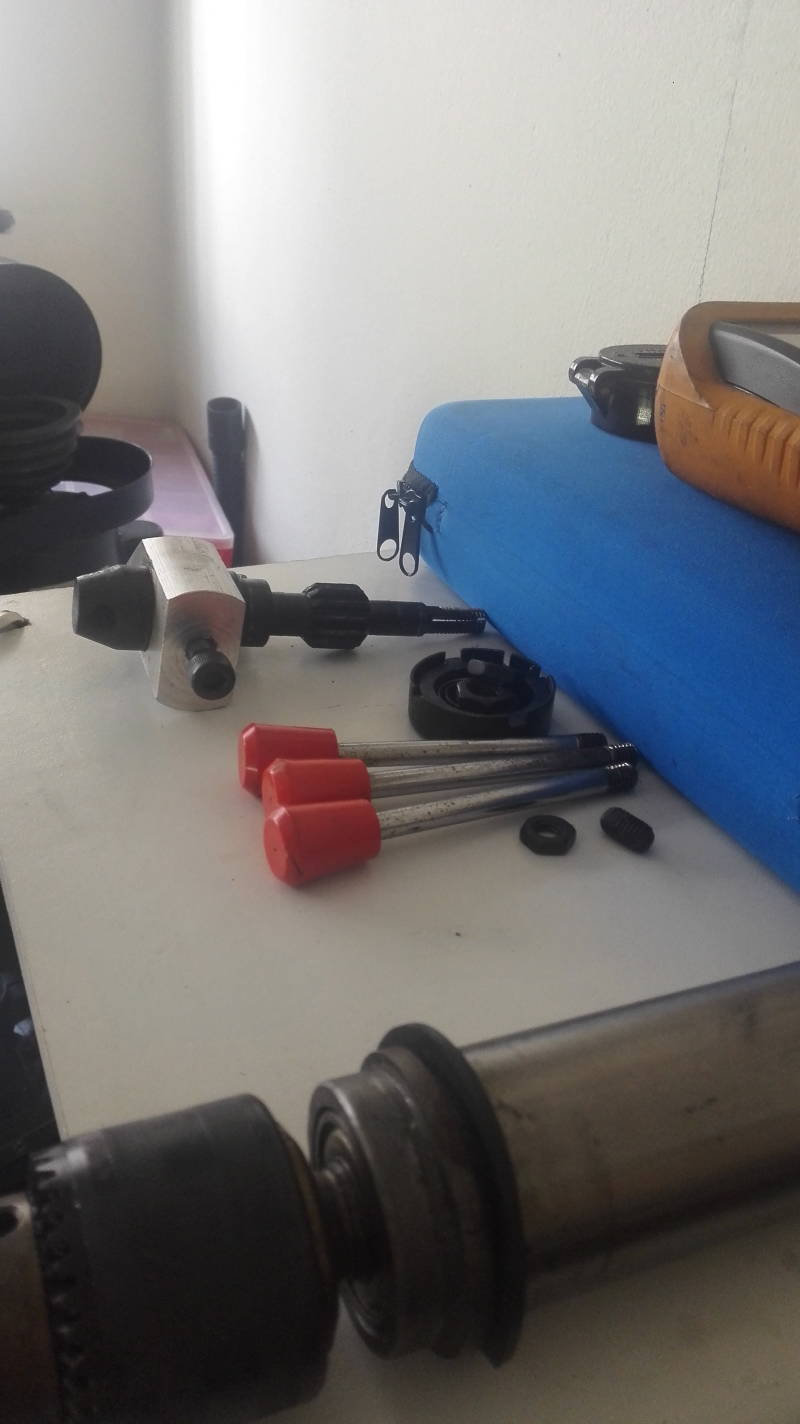
Picture on the left.
one of the knobs on the handles was destroyed so we made and fitted a new knob made from 25 mm diam and 25 mm long aluminum. ID drilled to 6.8mm and tapped M8
It feels better than those plastic knobs.
Create Your Own Website With JouwWeb