Adding a DRO to the Z axis of the mini milling machine.


The DRO has arrived from "Amazon", now the planning and the fitting of the instrument.Picture top centre the Lower mounting bracket that will be fitted with an M6X25 m/m cap screw to the column, Picture top Right DRO temporary fitted.

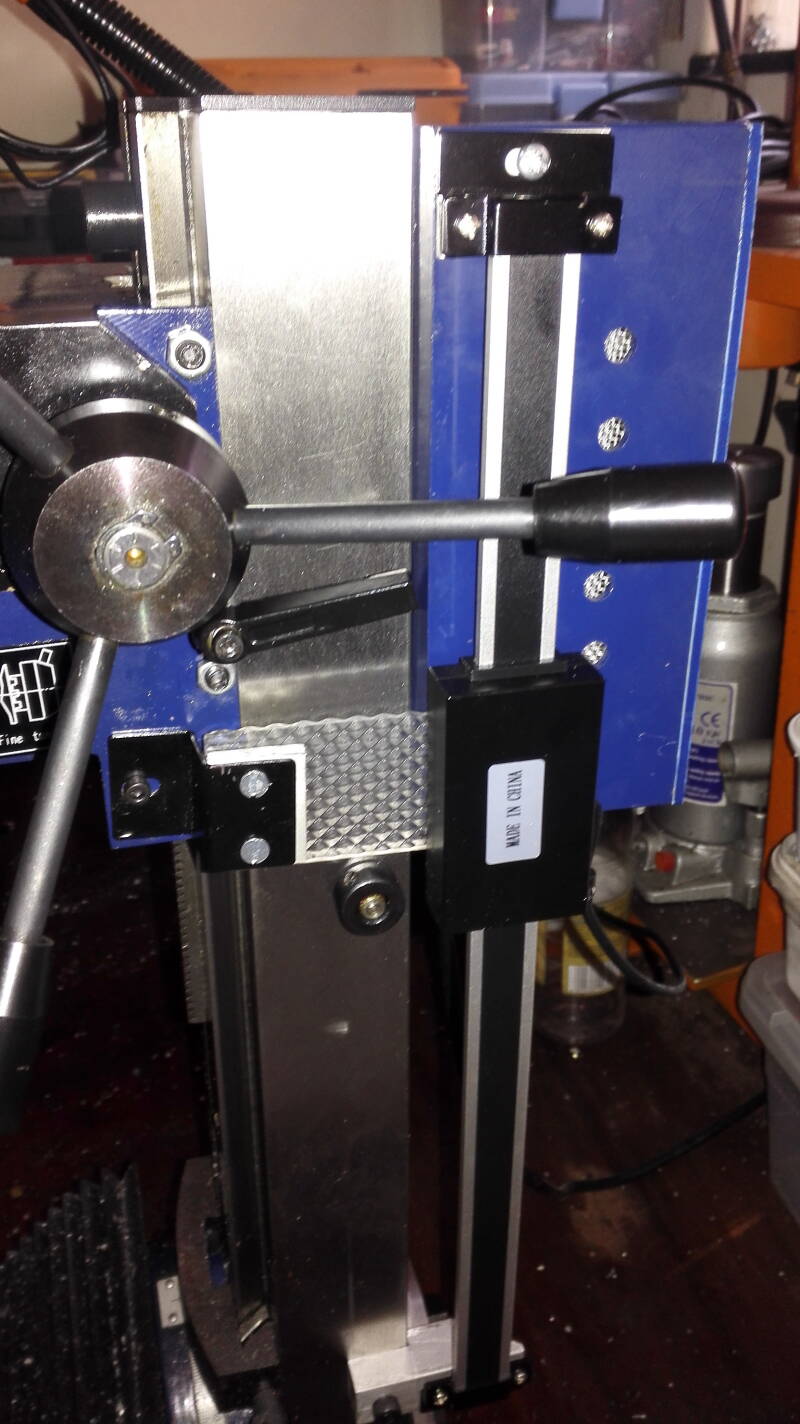

Picture top left DRO fitted to the column, all that has to be made and fitted is the connecting plate between the slide and the milling head as shown in the middle picture
Both pictures top middle and top right everything connected and ready to be used.
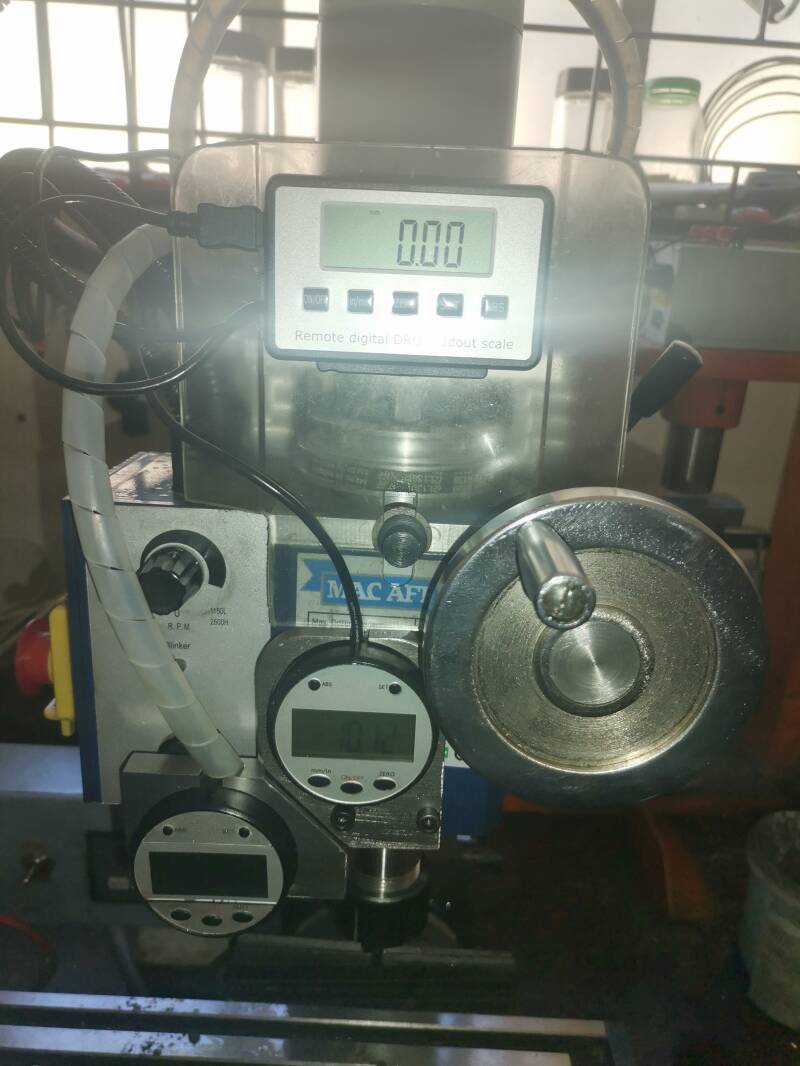
Holders for the DRO display's Y and Z Axis on the mini mill


From a bright mild steel off cut . I am making a holder in which I will fit the round magnetic LCD display for the DRO on the Mini mill.
Picture on the left after squaring up a chunk of 100 x 65 x 8 m/m This I will be boring out to position the LCD display to 58 m/m and 6 m/m deep. This will be bolted to the front of the mini mill and hold the DRO display in position for easy reading.
Have used the fitted DRO and what a pleasure. Hard to think how to use the mill without it, now I am planning to get an other 6'' and a 24 " DRO


A 6" DRO has been ordered for the Y axis and is on its way a mounting bracket has been made and is be fitted as per above pictures making use of existing mounting bolts.


The DRO fitted comes of the lathe a better specimen is on order and is on its way to me.
Top pictures the read out and scale are fitted all we have to make now is the connection to the Y. axis


January 2023 Completed next step a DRO for the x axis
DRO fitted to the X axis.


Two steel L Brackets made and fitted with m 4 allen cap screws . The DRO fitted is a 12 "


Last gauge fitted to the belt guard . All parts connected and ready to use.


Brackets made to support cover over the DRO.
Create Your Own Website With JouwWeb